This article demonstrates, in a practical way, the personal experience of using a free AI tool to create vector images, showing how simple it can be to apply it in daily life
AI-generated image creation is a widely discussed topic and a reality for many companies that need a quick, free, and copyright-free solution. In 2025, this process has become even simpler and more sophisticated. With advances in models like DALL·E 3, both professionals and enthusiasts looking to tap into trends can generate high-quality images for free.
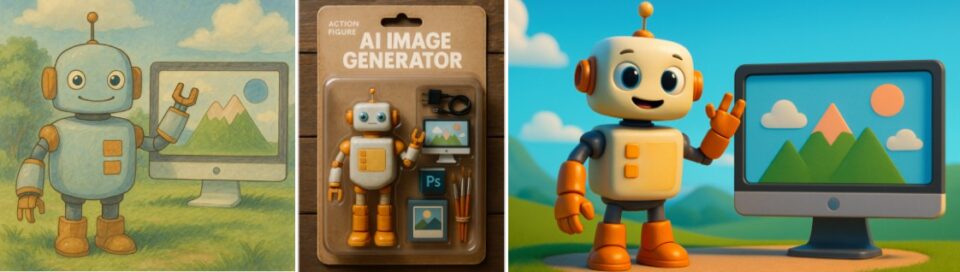
In recent months, a real (and sometimes annoying!) craze has taken over social media: generating images in iconic styles like Studio Ghibli films, creating action figures in blister packs, or even mimicking Pixar’s animation style. These trends highlight the almost limitless creativity that AI enables.
Even designers sometimes turn to AI tools to create an initial base for their work, almost as a creative unblocker, before developing the concept in greater depth.
For those who know and follow E-goi, you know that we use a very distinctive graphic language, with custom illustrations created by our amazing in-house design team.
However, with the advancement of AI solutions, we have been studying many ways to use these tools as a complement, making our work more efficient without losing our identity.
One challenge we’ve encountered in our tests with Midjourney, DALL-E (among others) is using these tools for illustration creation—either because they follow a style very different from what we want, or because they don’t use our color palette.
Another obstacle we’ve found is that they don’t generate vector images, which makes editing difficult. Additionally, there’s the issue of resolutions or sizes different from those predefined by the tools.
That’s where Recraft comes in—a free AI tool for creating vector images, and this article shares our experience using it 🙂
Contents
Main differences between Recraft and other free AI image generators
The goal of this article is not to review Recraft or make a comprehensive comparison with other image generators. So, I’ll focus on the theme of “illustrations” and, in my opinion, the main advantages of this tool compared to others.
I highlight 4 main points:
- Vector image creation
- Brand style creation by importing reference images
- Definition of a color palette (something so simple, but which makes all the difference)
- Flexibility in defining the size/proportion of the generated image
Step-by-step guide to creating your first illustration
For this guide, I’ll explain step by step how I created the main illustration for this article 🙂
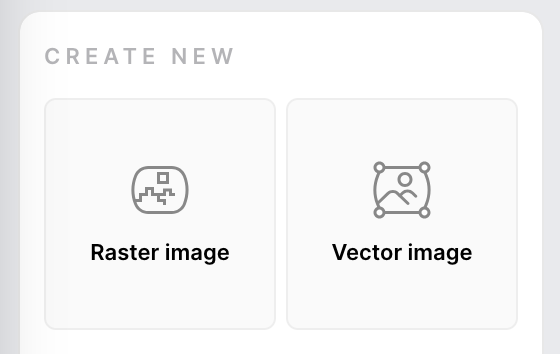
Next, create your first project and select what type of image you’ll generate: “Raster Image” or “Vector Image.” Since I want an SVG image, I’ll select the “Vector Image” option.
The first step is, naturally, to create a free account on the software, which is quite simple and can be done using a Google account.
Then, I’ll present the tool with the intended style. To do this, I’ll import some examples of E-goi illustrations.
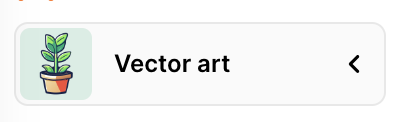
3.1) Click on “Vector Art”
3.2) Then on “Create Brand Style”
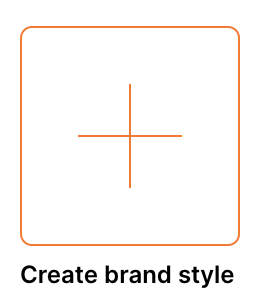
3.3) And send my references so the software understands what I want.

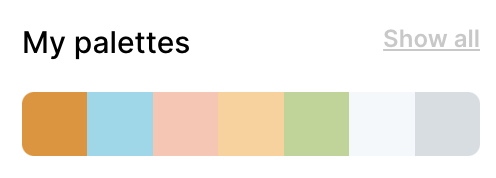
After that, I’ll define the color palette I want to use in the illustration. To do this, click on “Add palette,” and then you can choose to import an image and let the software detect the colors, or add the color codes individually. I created mine manually.
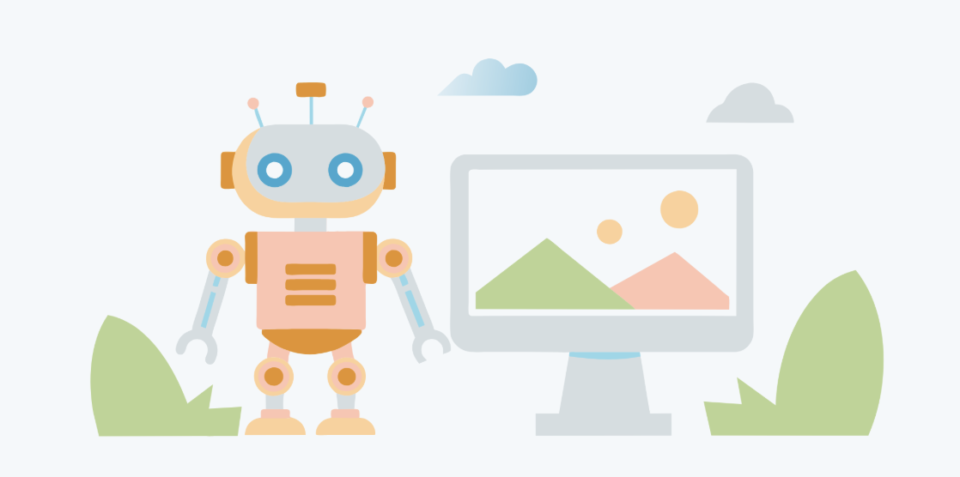
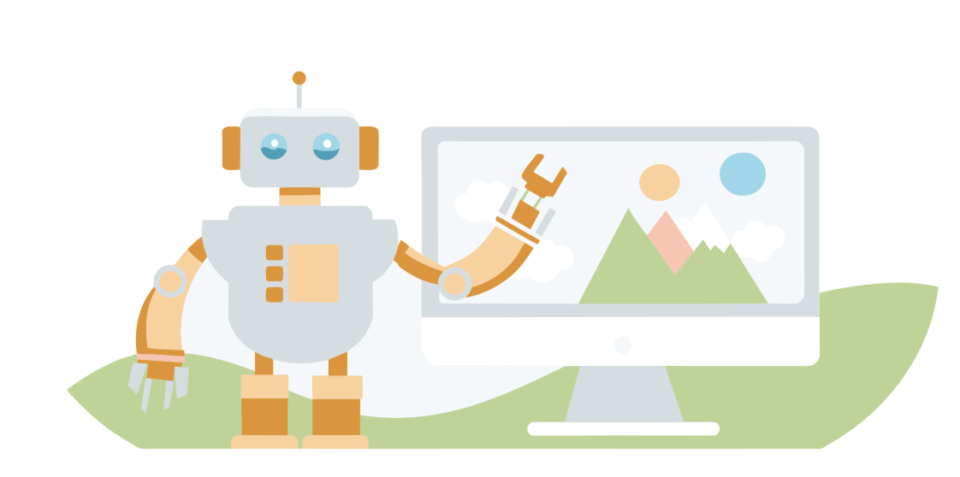
To finish, just clearly describe what you want (the prompt), select the image’s aspect ratio, and the level of detail for the illustration. For this example, I wrote (in Portuguese) something as simple as “Robot creating illustrations on a computer.” I selected the “2:1” aspect ratio, “High” detail level, and the first results were these below (it always creates two versions for you to choose from).
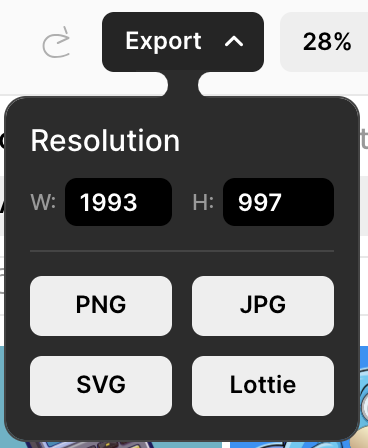
If you’re satisfied with the generated image, click “export,” select the format (I chose SVG), and the desired resolution.
And that’s it! Clearly, it took me longer to write this step-by-step than to generate the desired image.
Is it worth using free AI tools to create vector images?
My answer is: it depends 🙂
I know it’s a boring and non-committal answer, but I can explain why.
If your company has the resources (human or financial) to create this illustration with a good designer, and if this image is important and will have high visibility, then go with the “creative human,” because the final result will always be better.
But if you don’t have much investment power, or if the illustration is for restricted use or low visibility (e.g., for a PowerPoint presentation), then use the tips above and go ahead with AI without fear.
Conclusion
As I write this guide, free AI tools for image creation continue to evolve, highlighting the importance of adapting to this technology. So, it’s obvious that this is a one-way street, and those who don’t adapt will be left behind.
But it’s important to realize that using an AI image generator doesn’t make us “Designers,” just as using a Thermomix (or any other kitchen robot) doesn’t make us “Chefs.”
On the other hand, a good chef who uses a robot to speed up production doesn’t become a worse professional compared to one who does everything manually.
In fact, the opposite happens: by optimizing processes, costs are reduced and time is gained to dedicate to what’s most important, such as supervising quality, developing recipes, or doing what you love most.
Tools like Recraft generate very satisfactory results in just a few minutes and are therefore an excellent option for getting things done in daily life.
So, ride the wave and use this saved time to develop your business or spend it with family and friends 🙂
Have you tried creating your first illustration using a free AI tool for image creation? Do you know other similar tools? Share your experience in the comments!
And, of course, if you want to discover other AI solutions for your business, E-goi is an expert on the subject. Talk to one of my colleagues and see how you can save time, optimize processes, and take advantage of artificial intelligence for your benefit. Get in touch.